Vacuum-Formed vs Flat Light Boxes

Vacuum-Formed vs Flat Light Boxes

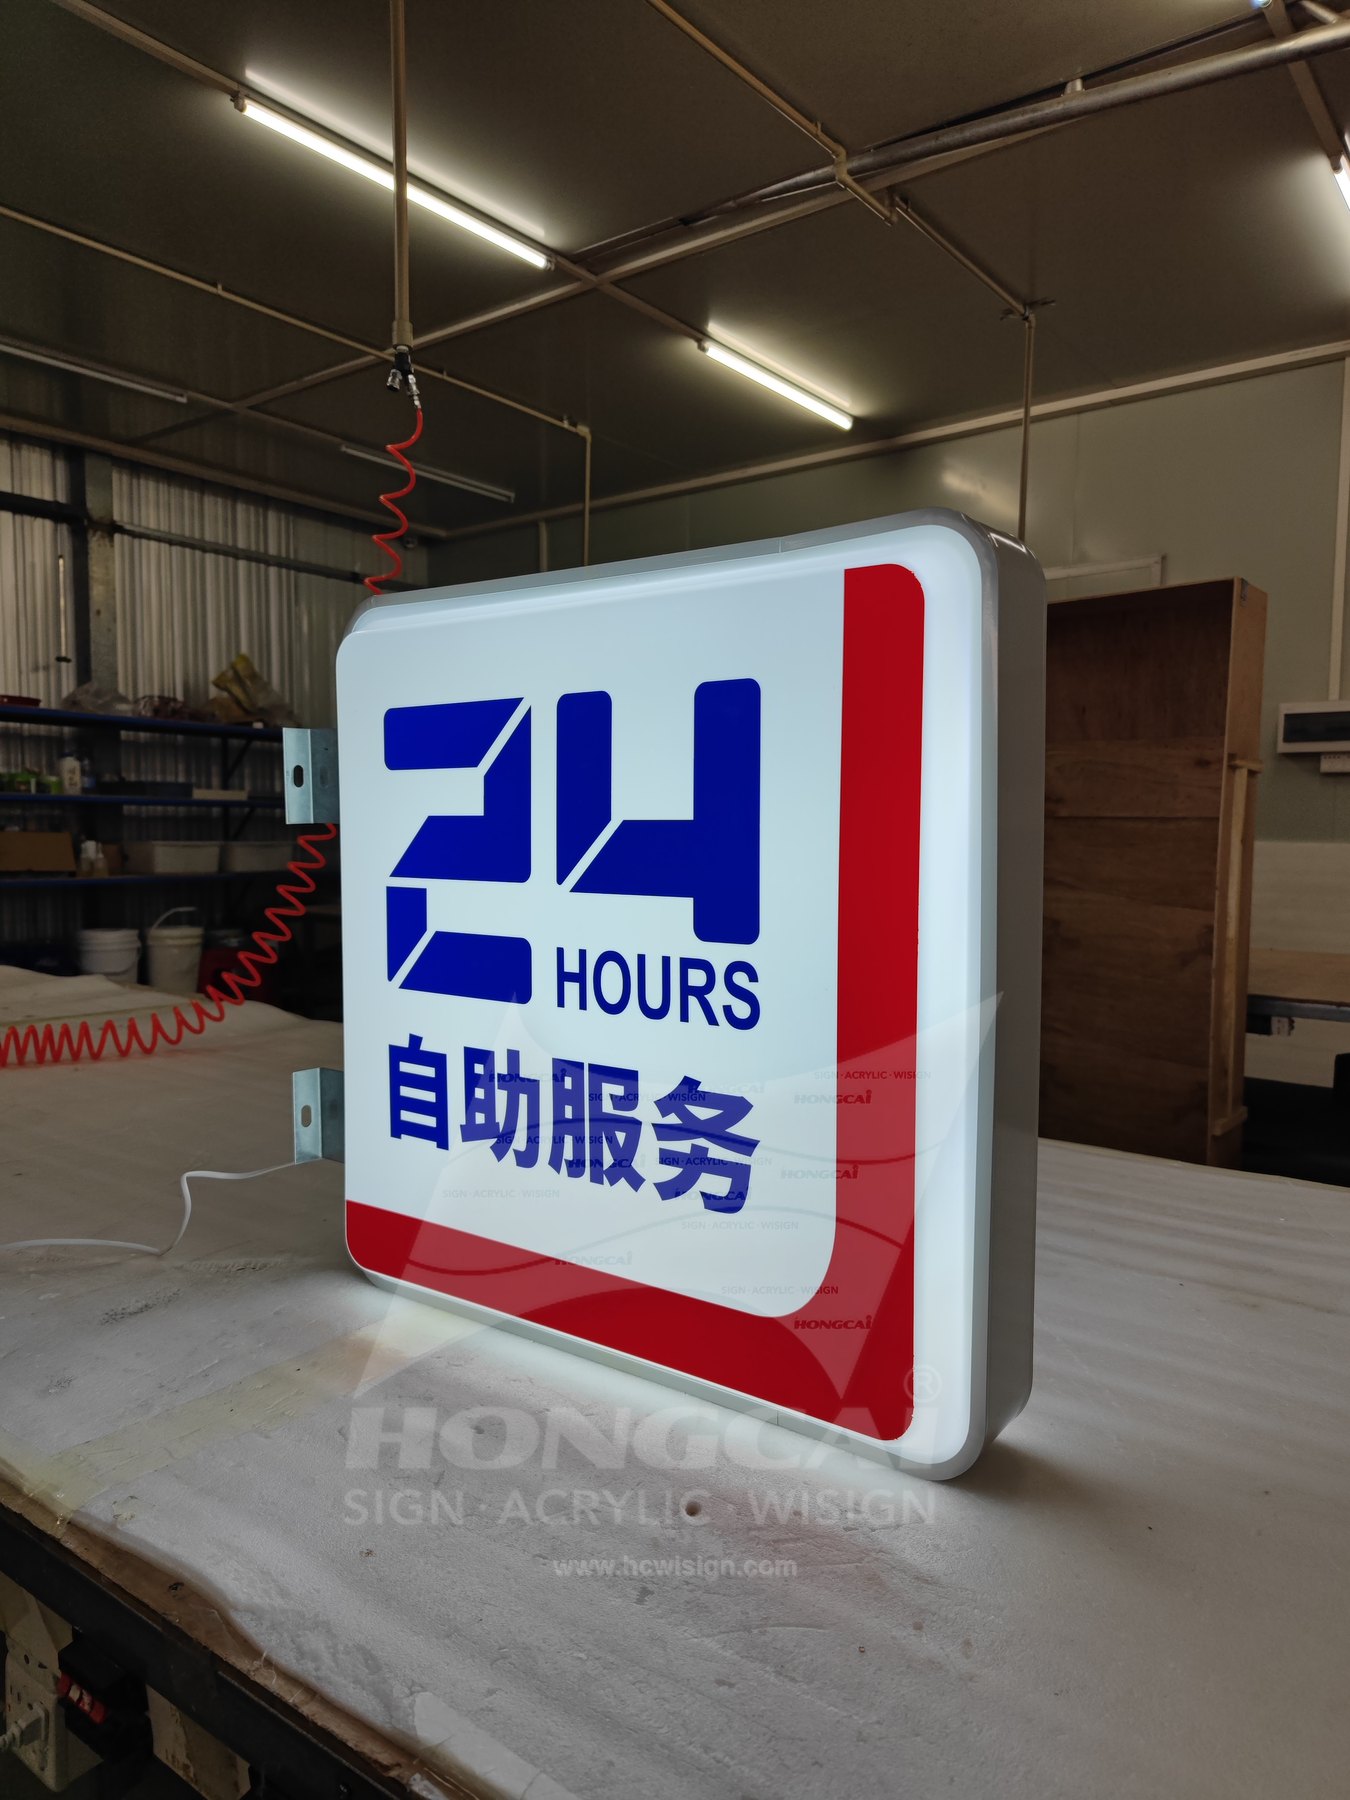
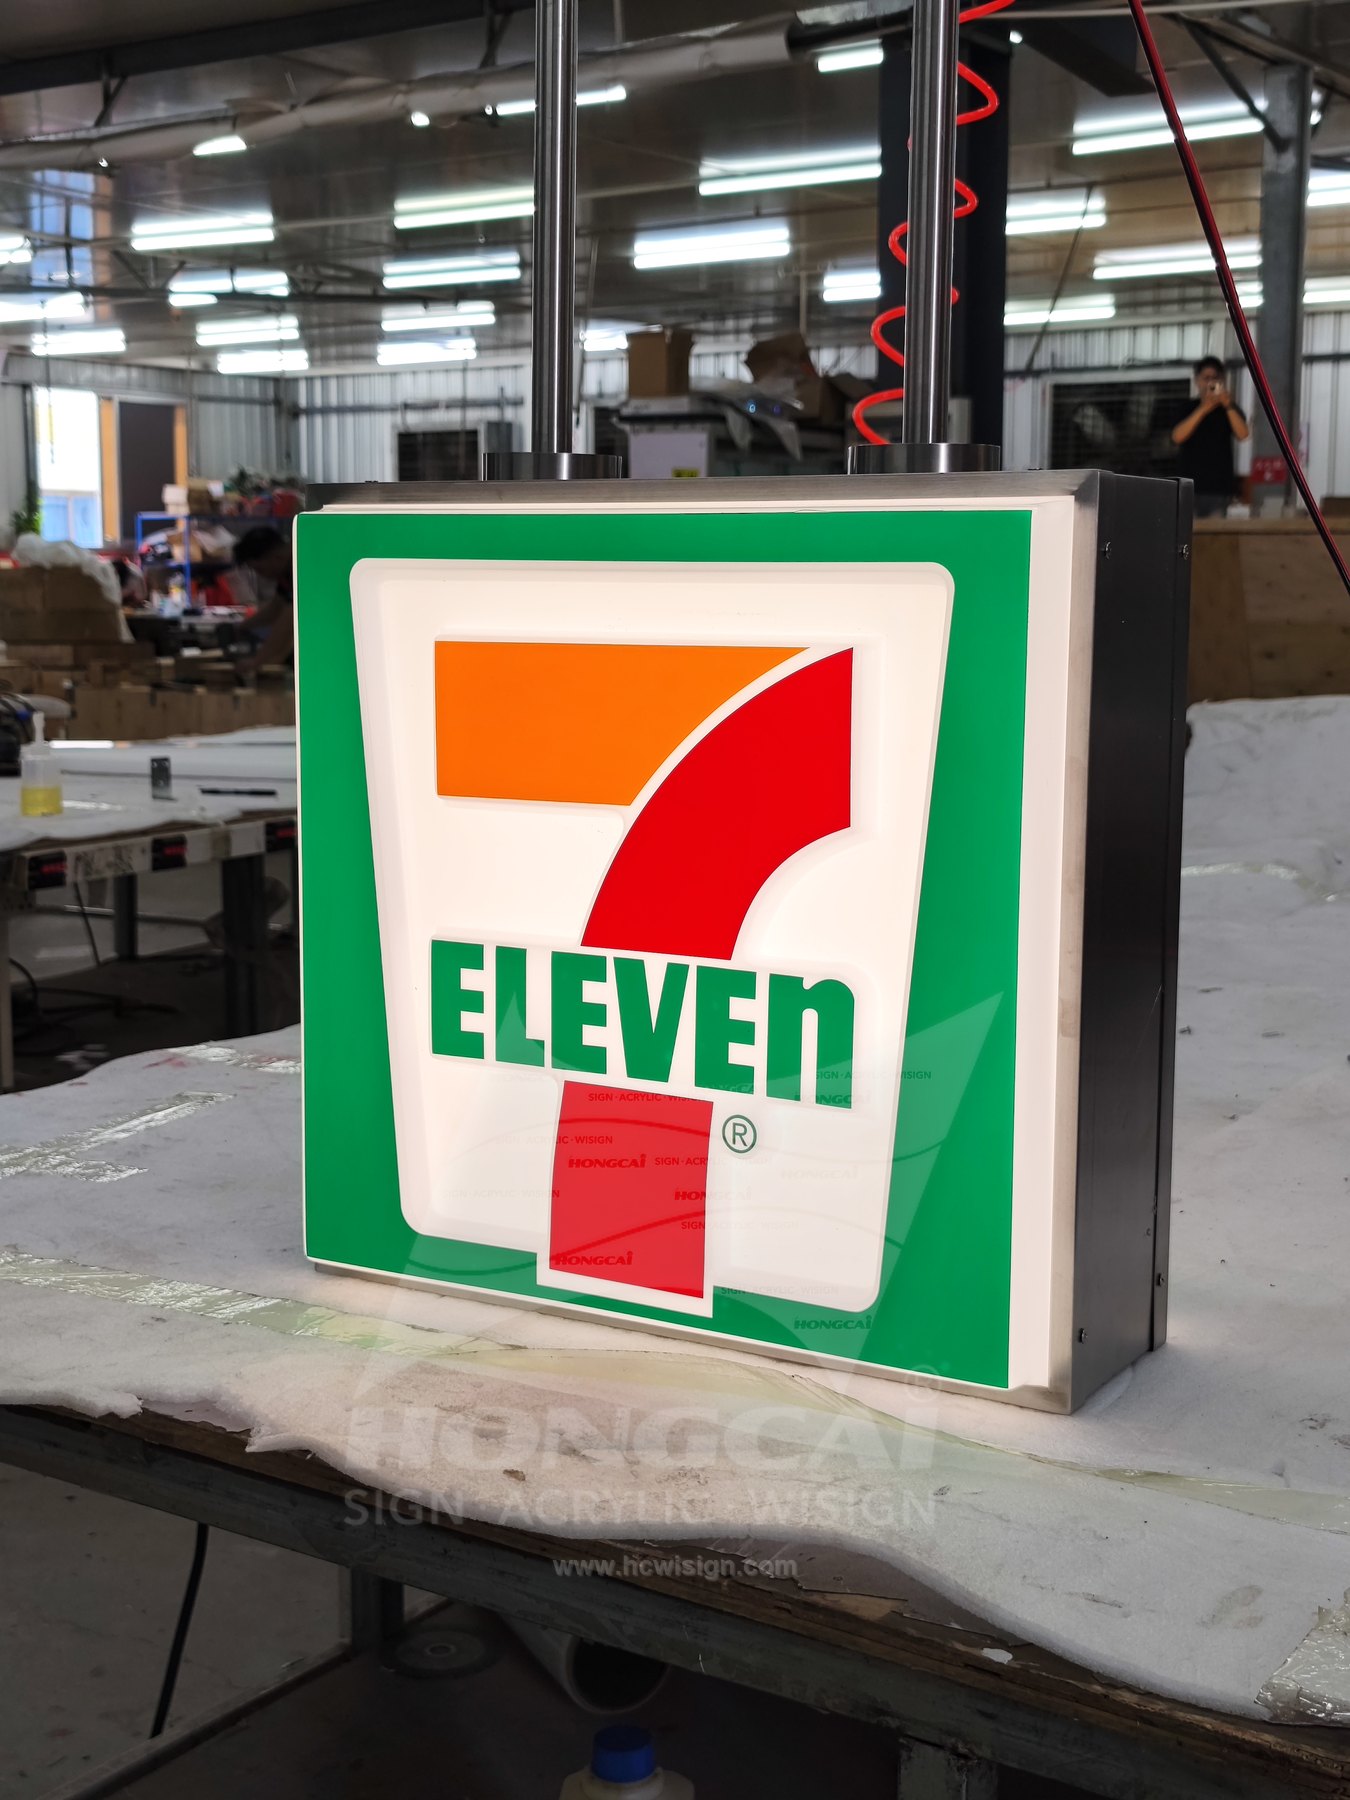
A vacuum-formed face introduces a shaped profile and raised transitions, while a flat-panel light box carries graphics on a more planar face. Compare the silhouette, artwork and side view together. The useful distinction is how the chosen face fits the design and enclosure, rather than assuming either method is automatically the right answer for every sign.

7-Eleven graphic vacuum-formed light box on the workshop table.

Compare the Sign Formats

Rounded Formed Face

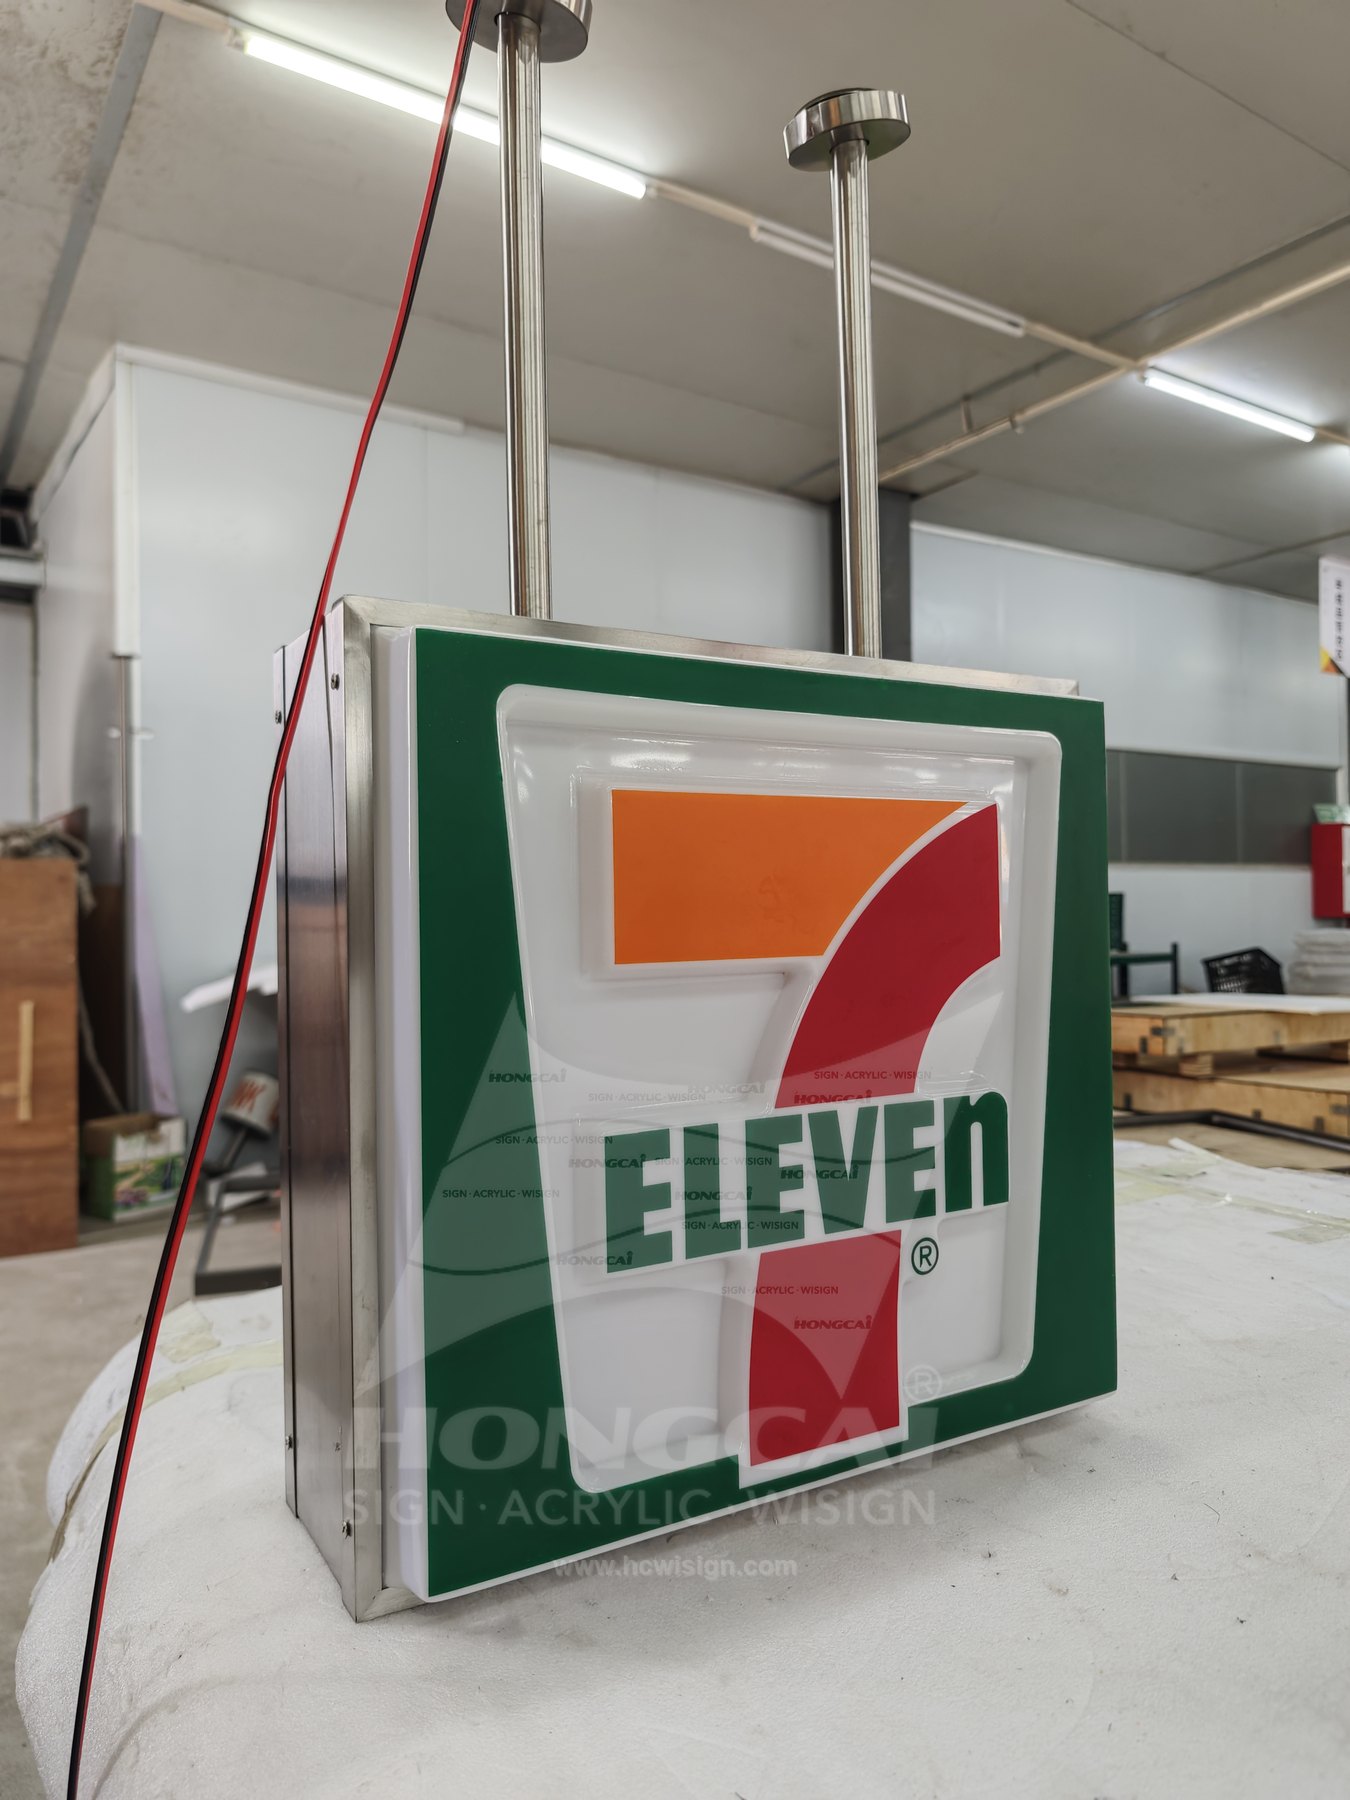
A formed face can create rounded corners and raised contours as part of the sign profile. Identify which areas are shaped and which carry readable graphics. Review how the face meets the enclosure and how the outline appears from an oblique street view.

View photographed examples
Flat Acrylic Face

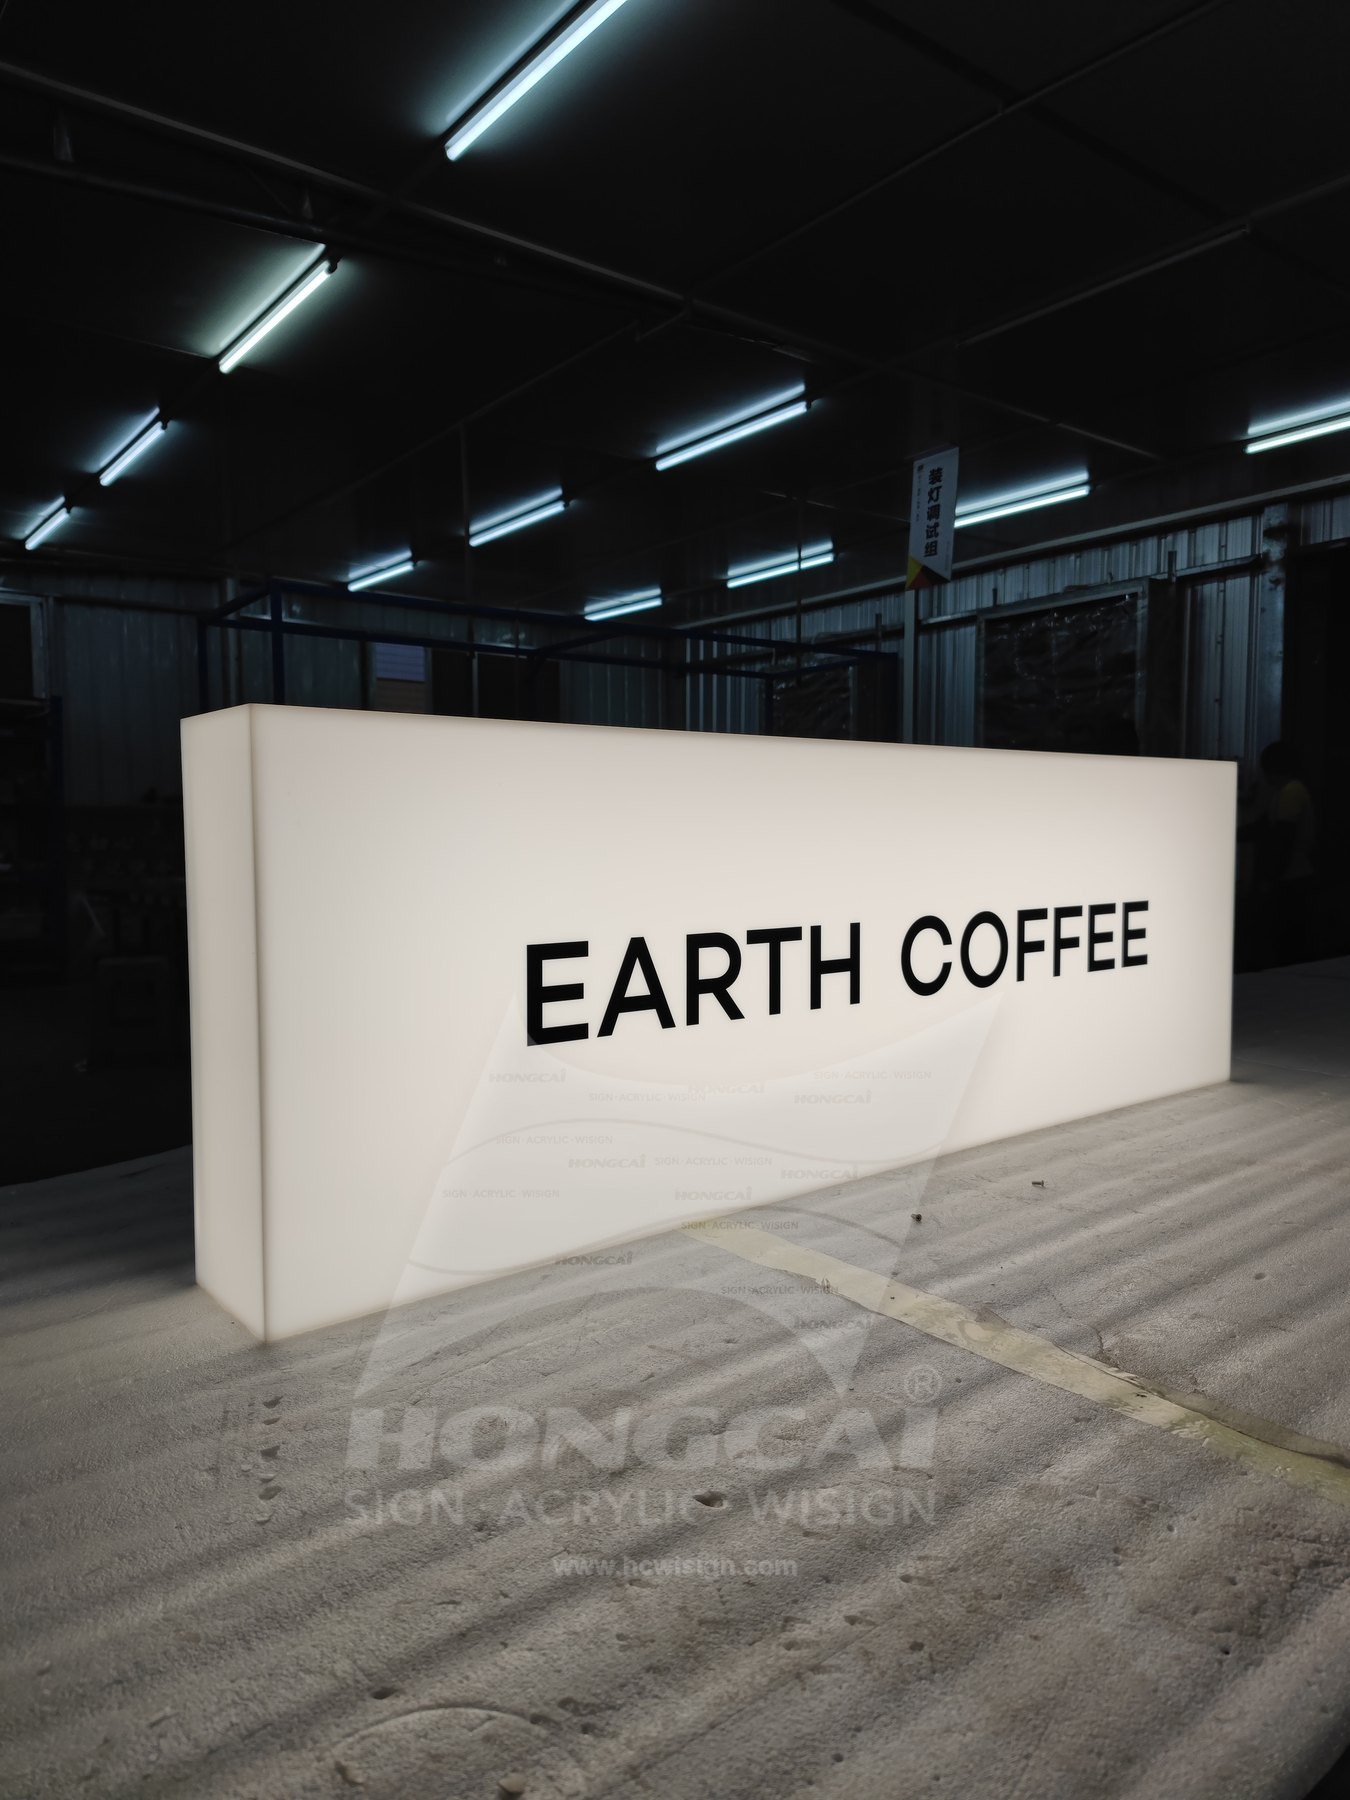
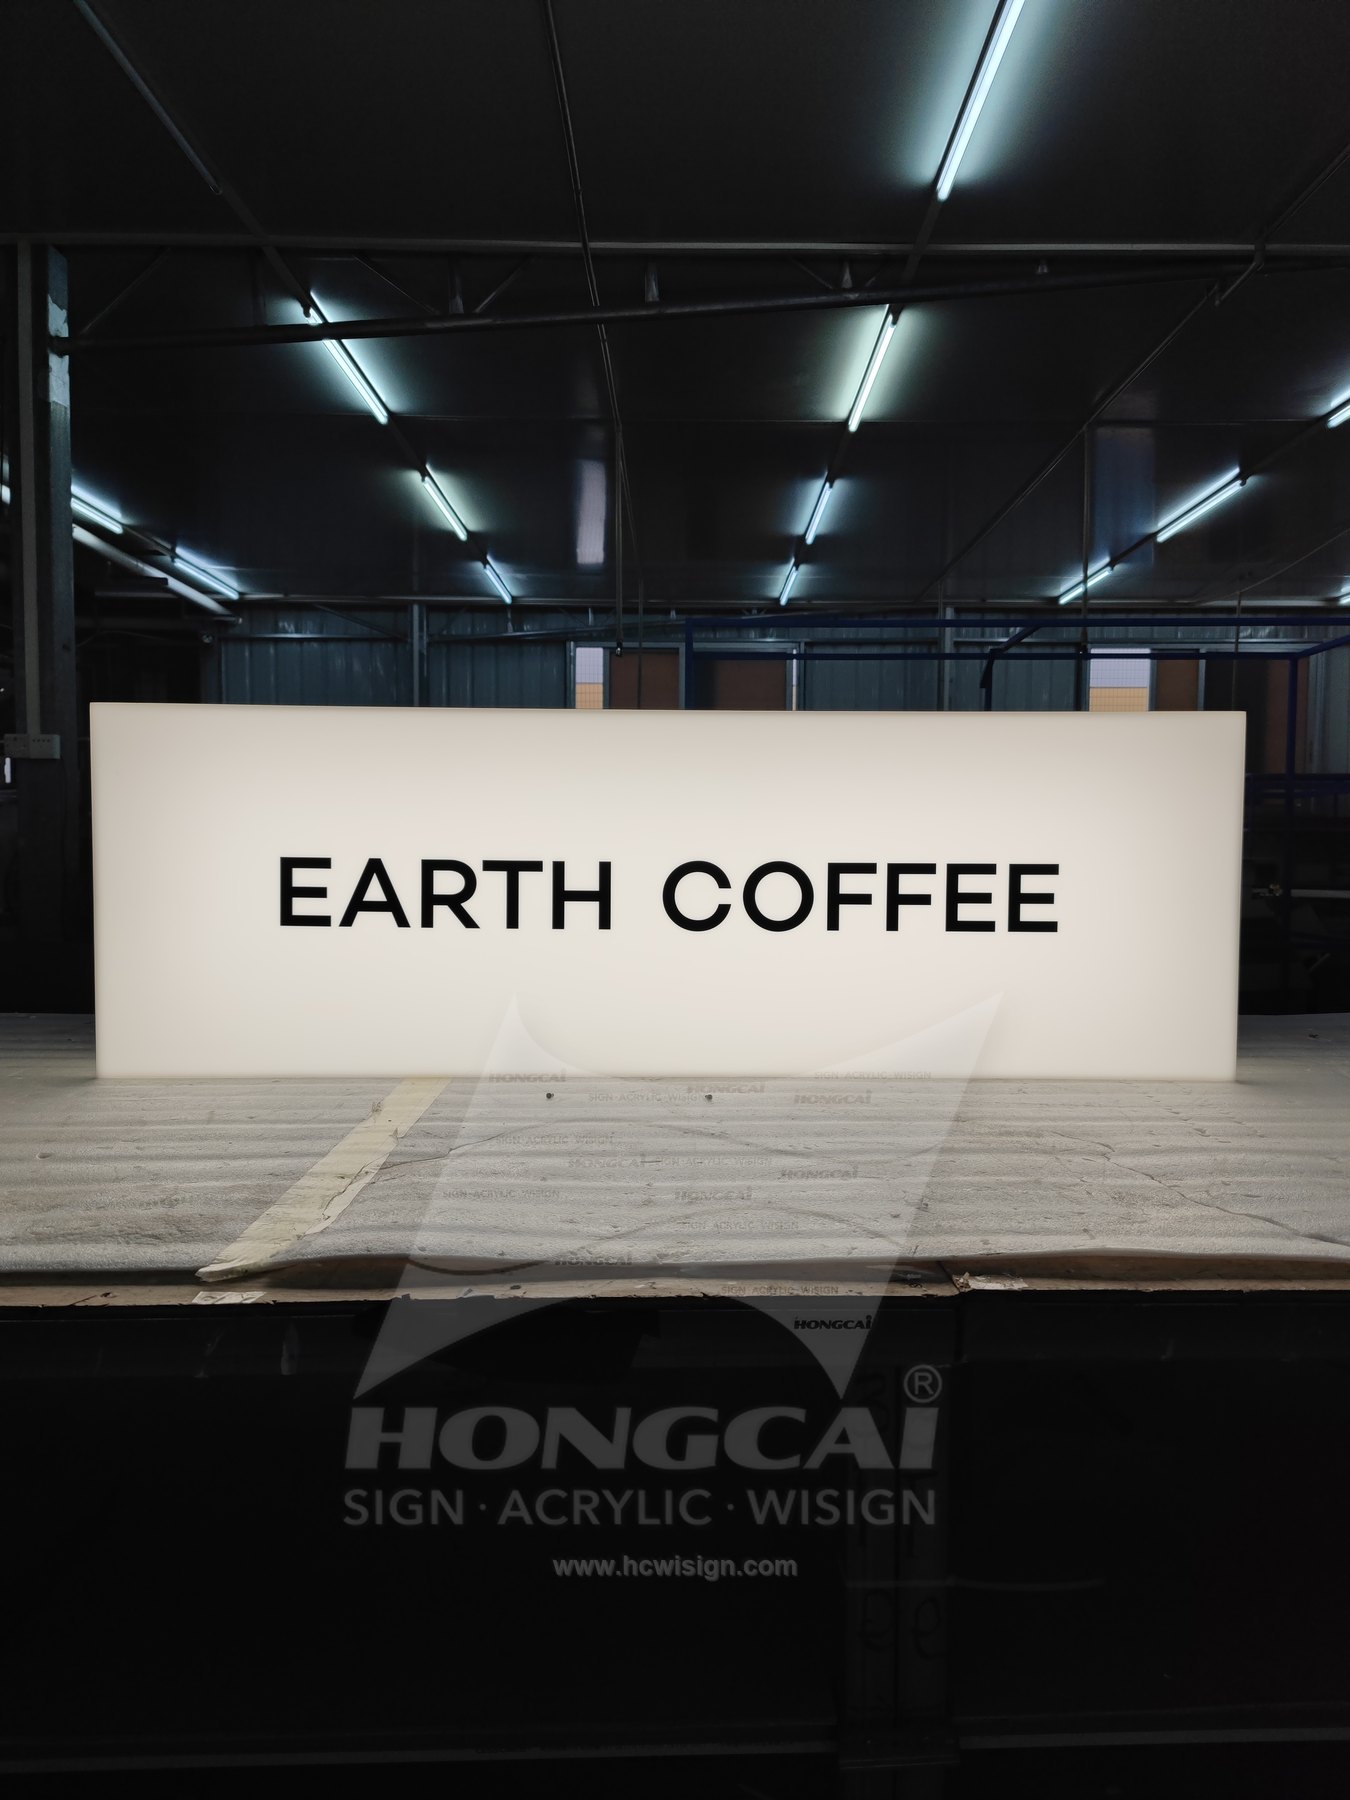
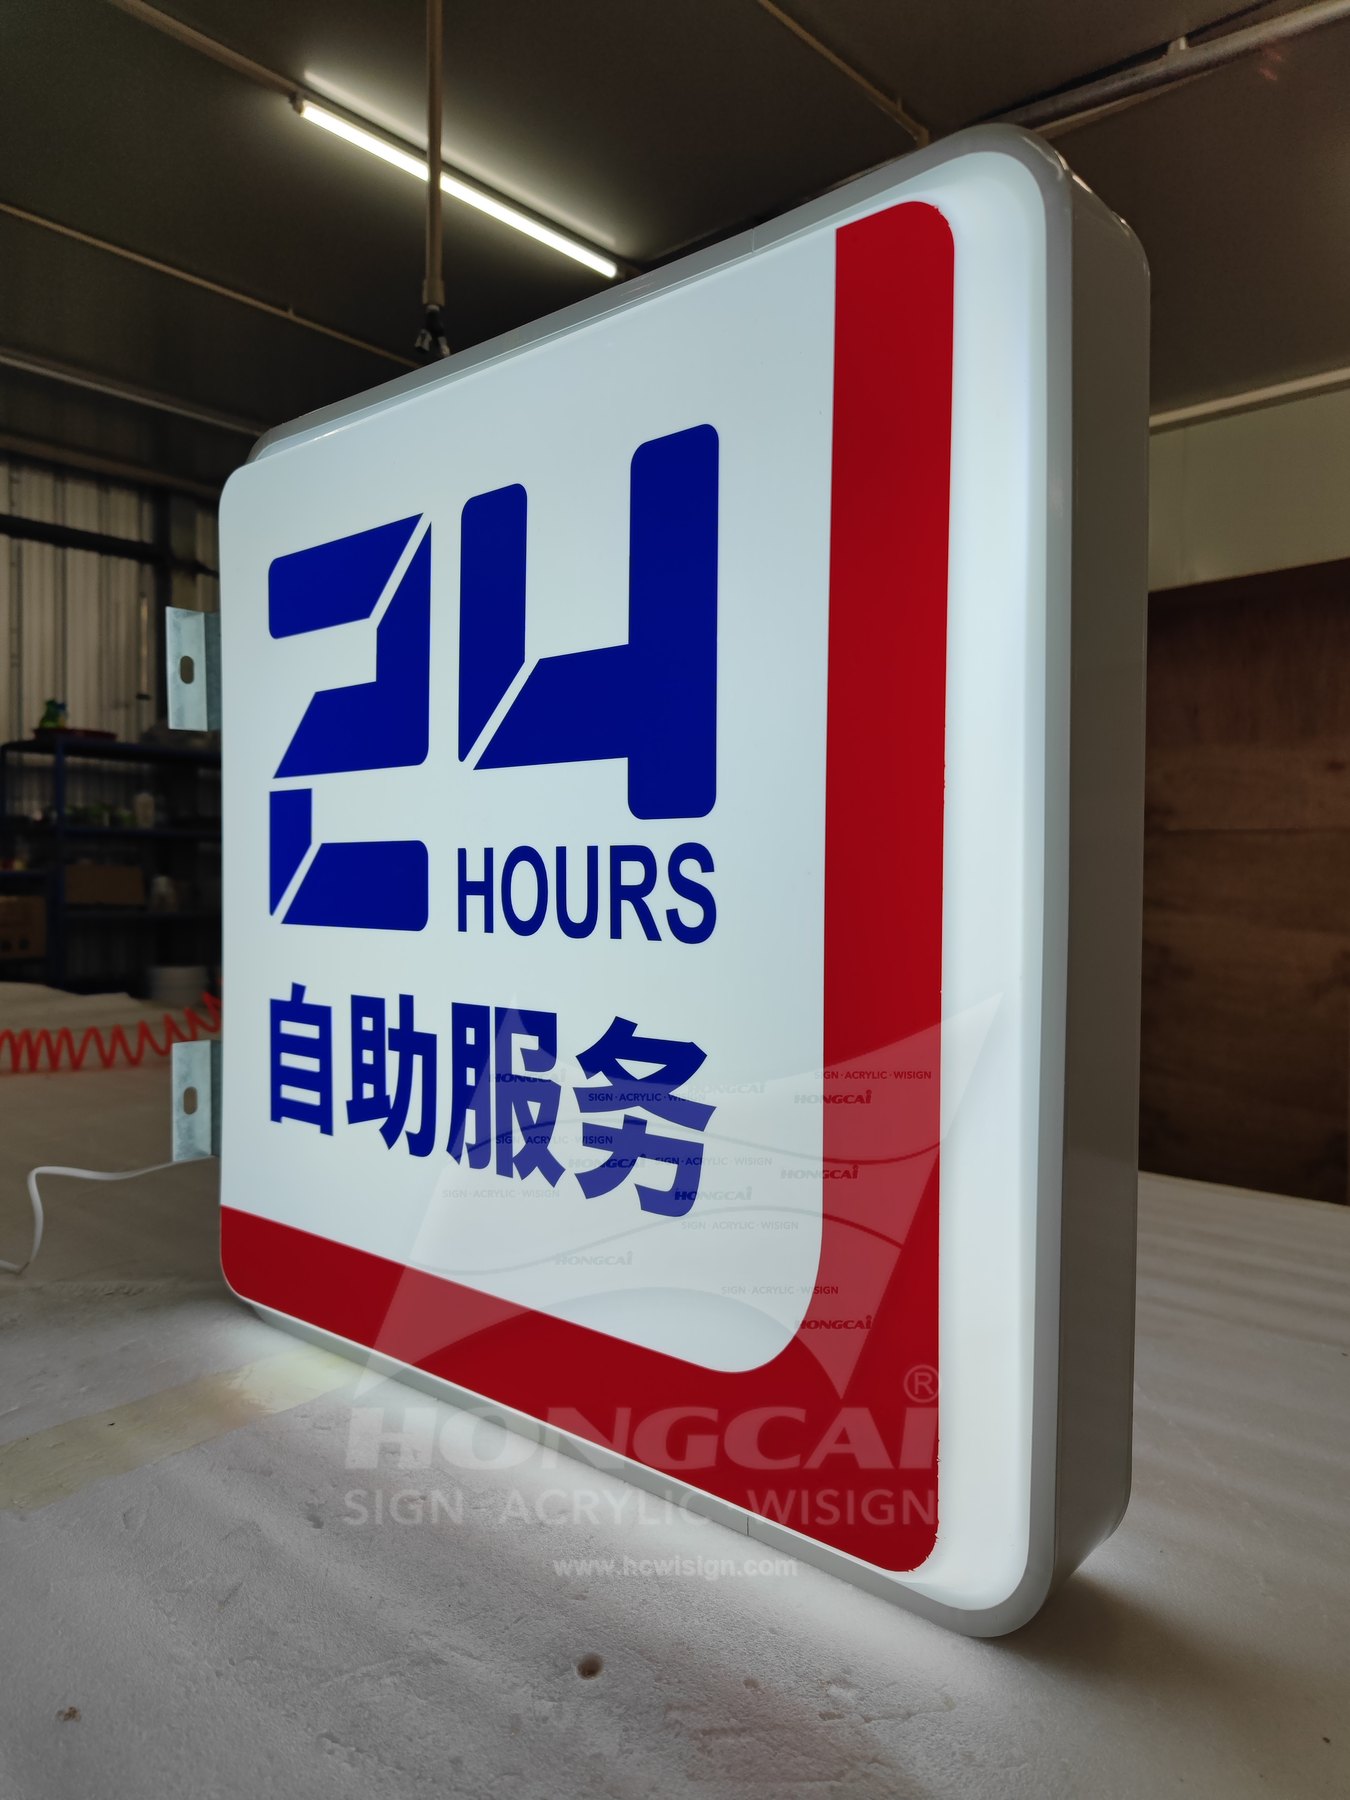
A flat acrylic face can provide a straightforward field for a long name or simple graphic. Plan panel support, enclosure edges and access along with the artwork. A flat appearance does not remove the need to resolve the illuminated cabinet and its mounting.

View photographed examples

Artwork and Face Profile

The same graphic can read differently on a raised face and a flat panel. Keep text away from transitions where necessary and compare the illuminated margins. Confirm whether the design needs relief in the face itself or simply a clearly lit printed graphic.

View photographed examples

Plan the Artwork and Site Conditions

Review the artwork alongside the intended location. A sign that looks balanced in a close-up photograph may need a different letter size, mounting position or light treatment when viewed from the actual approach.

Outline and Artwork

Provide the outline dimensions and mark intended relief areas. Check whether shaped transitions affect graphic placement or letter spacing, and review the side profile alongside the front artwork before selecting the face method.

Quantity and Fabrication

State the quantity, whether the outline repeats and whether graphics change between signs. Ask the proposal to identify the face-making and enclosure scope, allowing the actual project requirements to determine the fabrication approach.

Opening and Replacement

Confirm how the face is removed, where service access is available and whether the graphic may change later. Coordinate that opening method with brackets and the installed position so the sign remains accessible.

Prepare a Custom Sign Inquiry

Attach the photographic reference you prefer and mark the lettering, colour and illuminated areas you want to retain. Include the information below so the proposal can address the complete sign, its supports and connection requirements together.

Discuss a Custom Sign
  • Complete wording, logo and editable vector artwork, identifying every language version and any fixed brand proportions.
  • Target dimensions, quantity, location photographs and available space, including a wider view of the surroundings.
  • Preferred material and lighting effect, mounting substrate, fixing conditions, power position and delivery destination.