Restroom Signs and Wayfinding

Restroom Signs and Wayfinding

Restroom signage should make the destination and direction easy to understand before adding a decorative finish. Plan door identification and approach signs as parts of one route. Consistent icons, wording and arrows help people follow the information across a corridor, while illuminated panels can be selected to suit the interior setting.

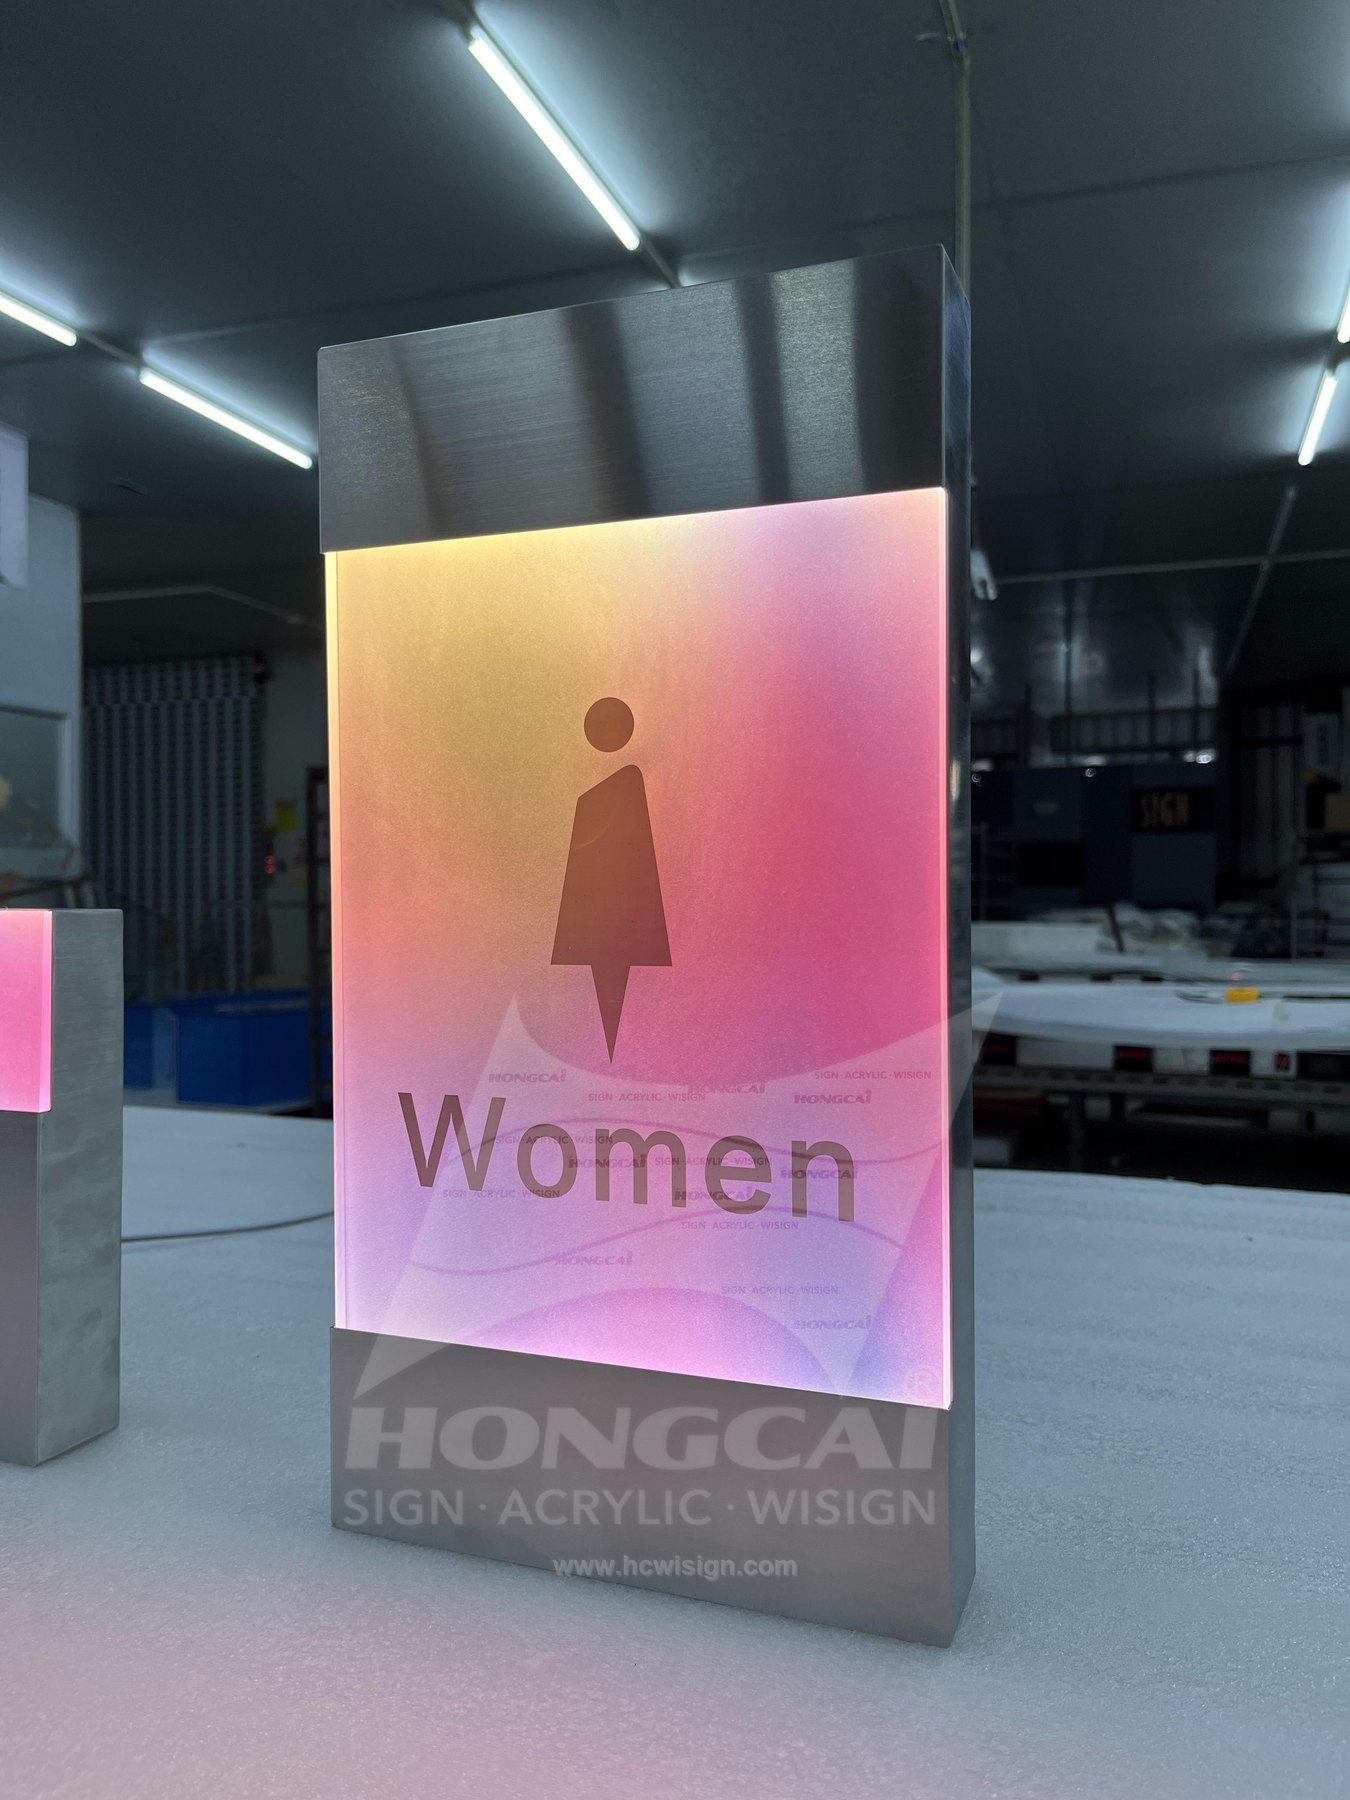
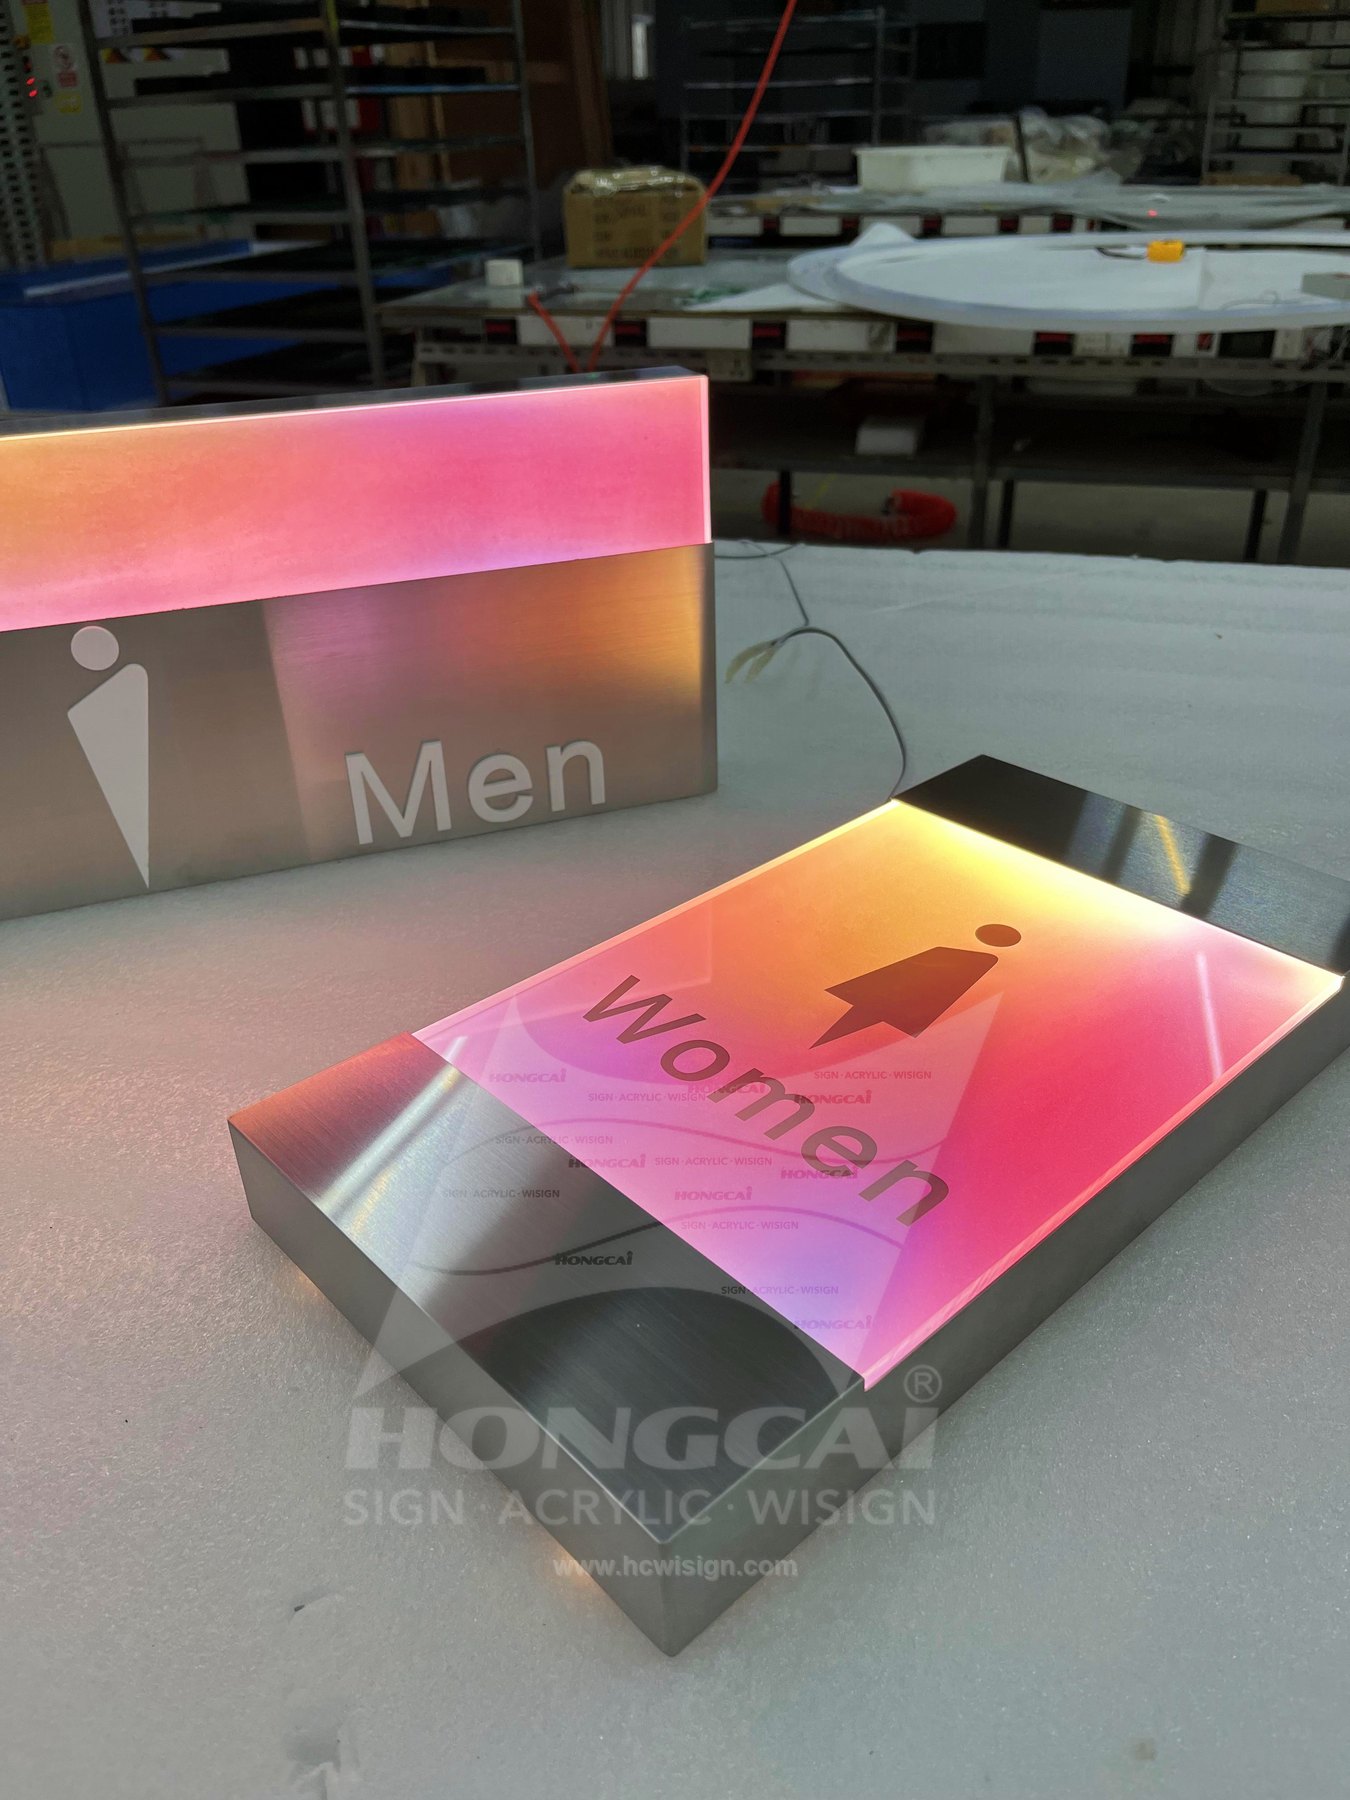
Iridescent illuminated male and female restroom sign set.

Compare the Sign Formats

Icons and Bilingual Door Signs

Combine icons and approved bilingual wording in a fixed hierarchy. An iridescent finish can add colour, but the function should remain recognizable across the set. Review the male and female versions side by side, including their lit and unlit appearances.

View photographed examples

Textured Illuminated Panels

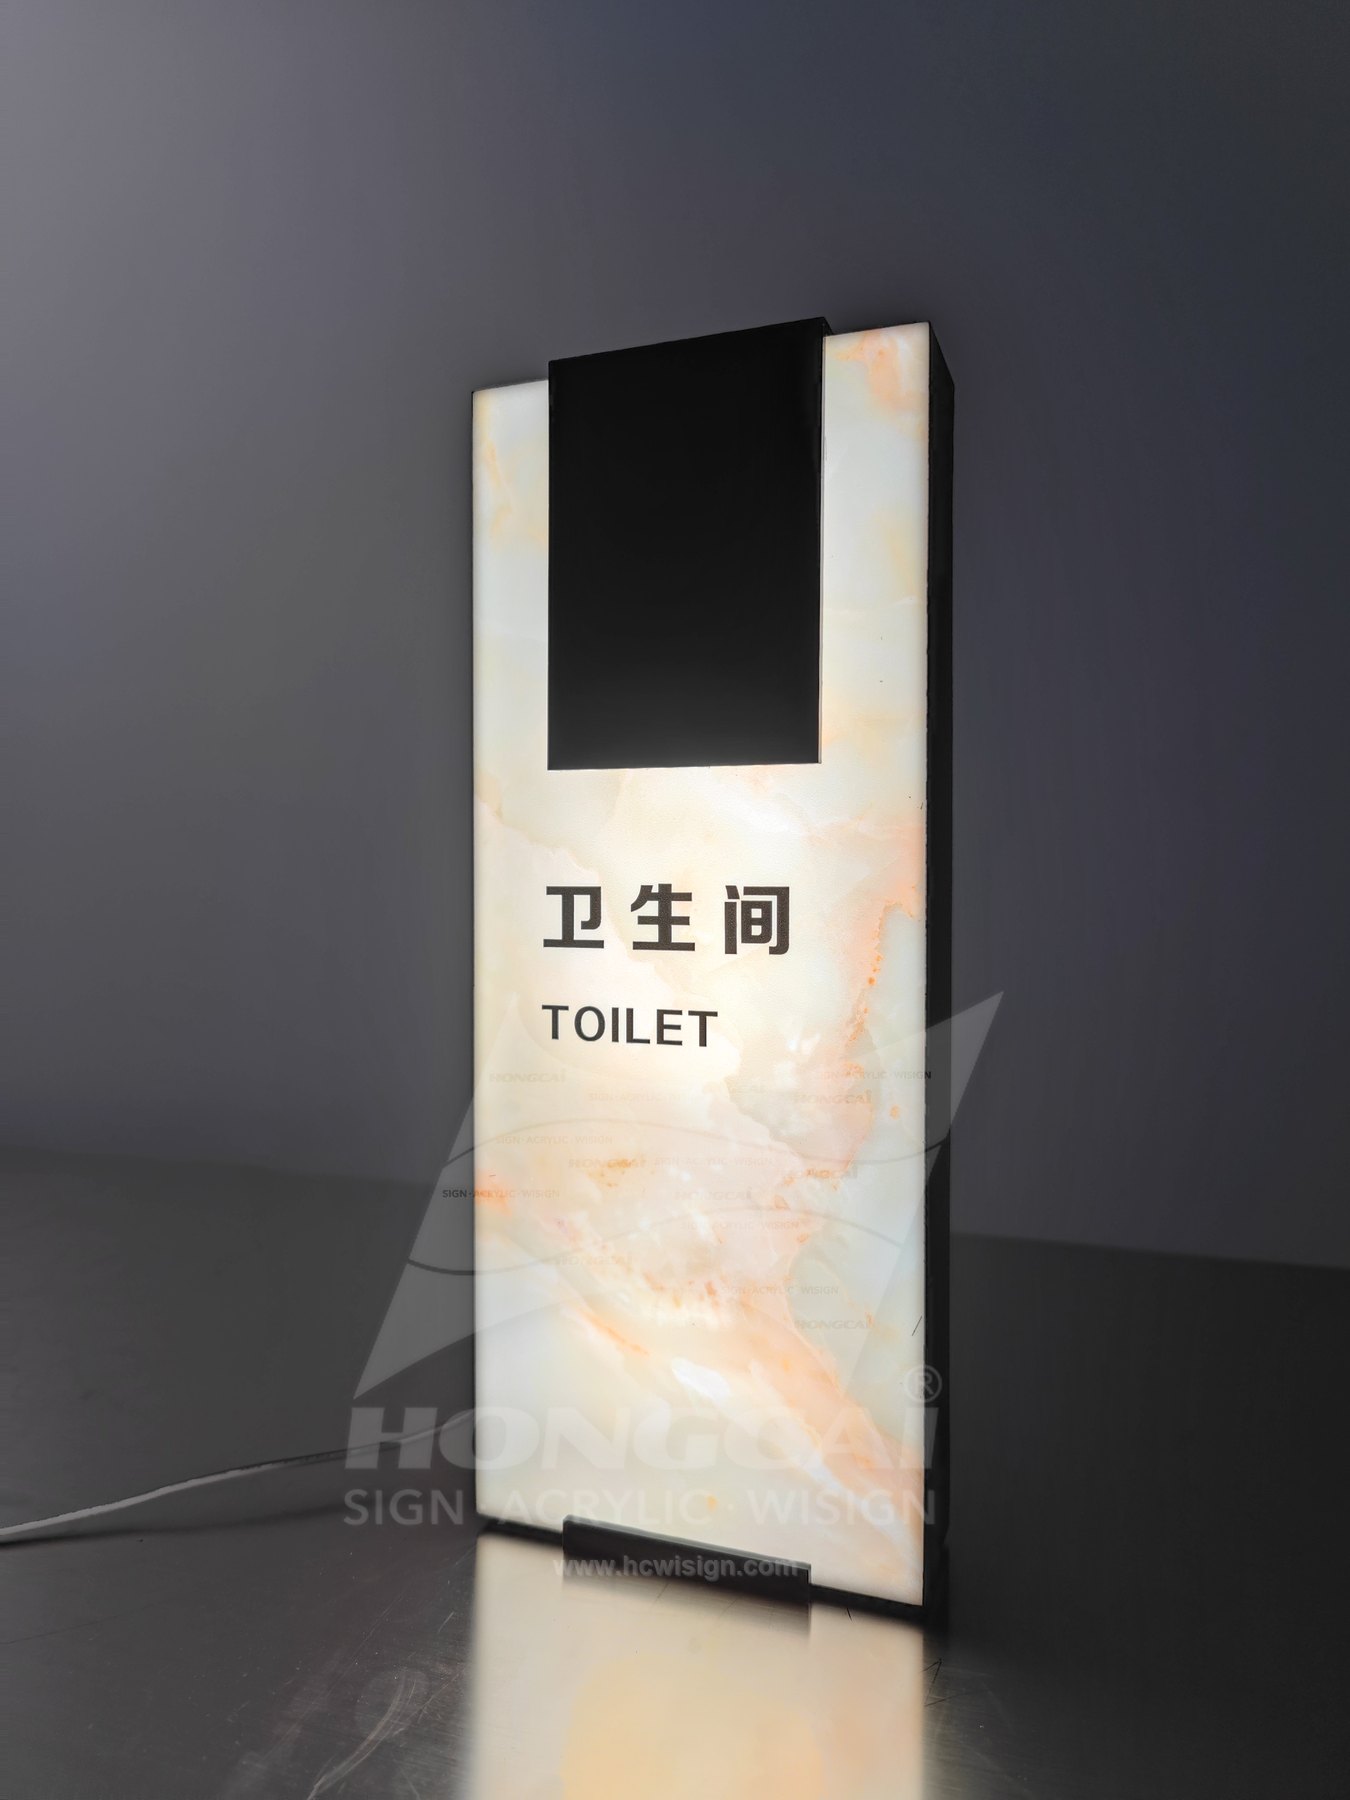
A marble-effect translucent face can coordinate with a decorative interior. Place functional wording where the pattern does not compete with it, and compare the surrounding wall colour with both the face and the dark enclosure edge before approving the finish.

View photographed examples

Directional Sign Family

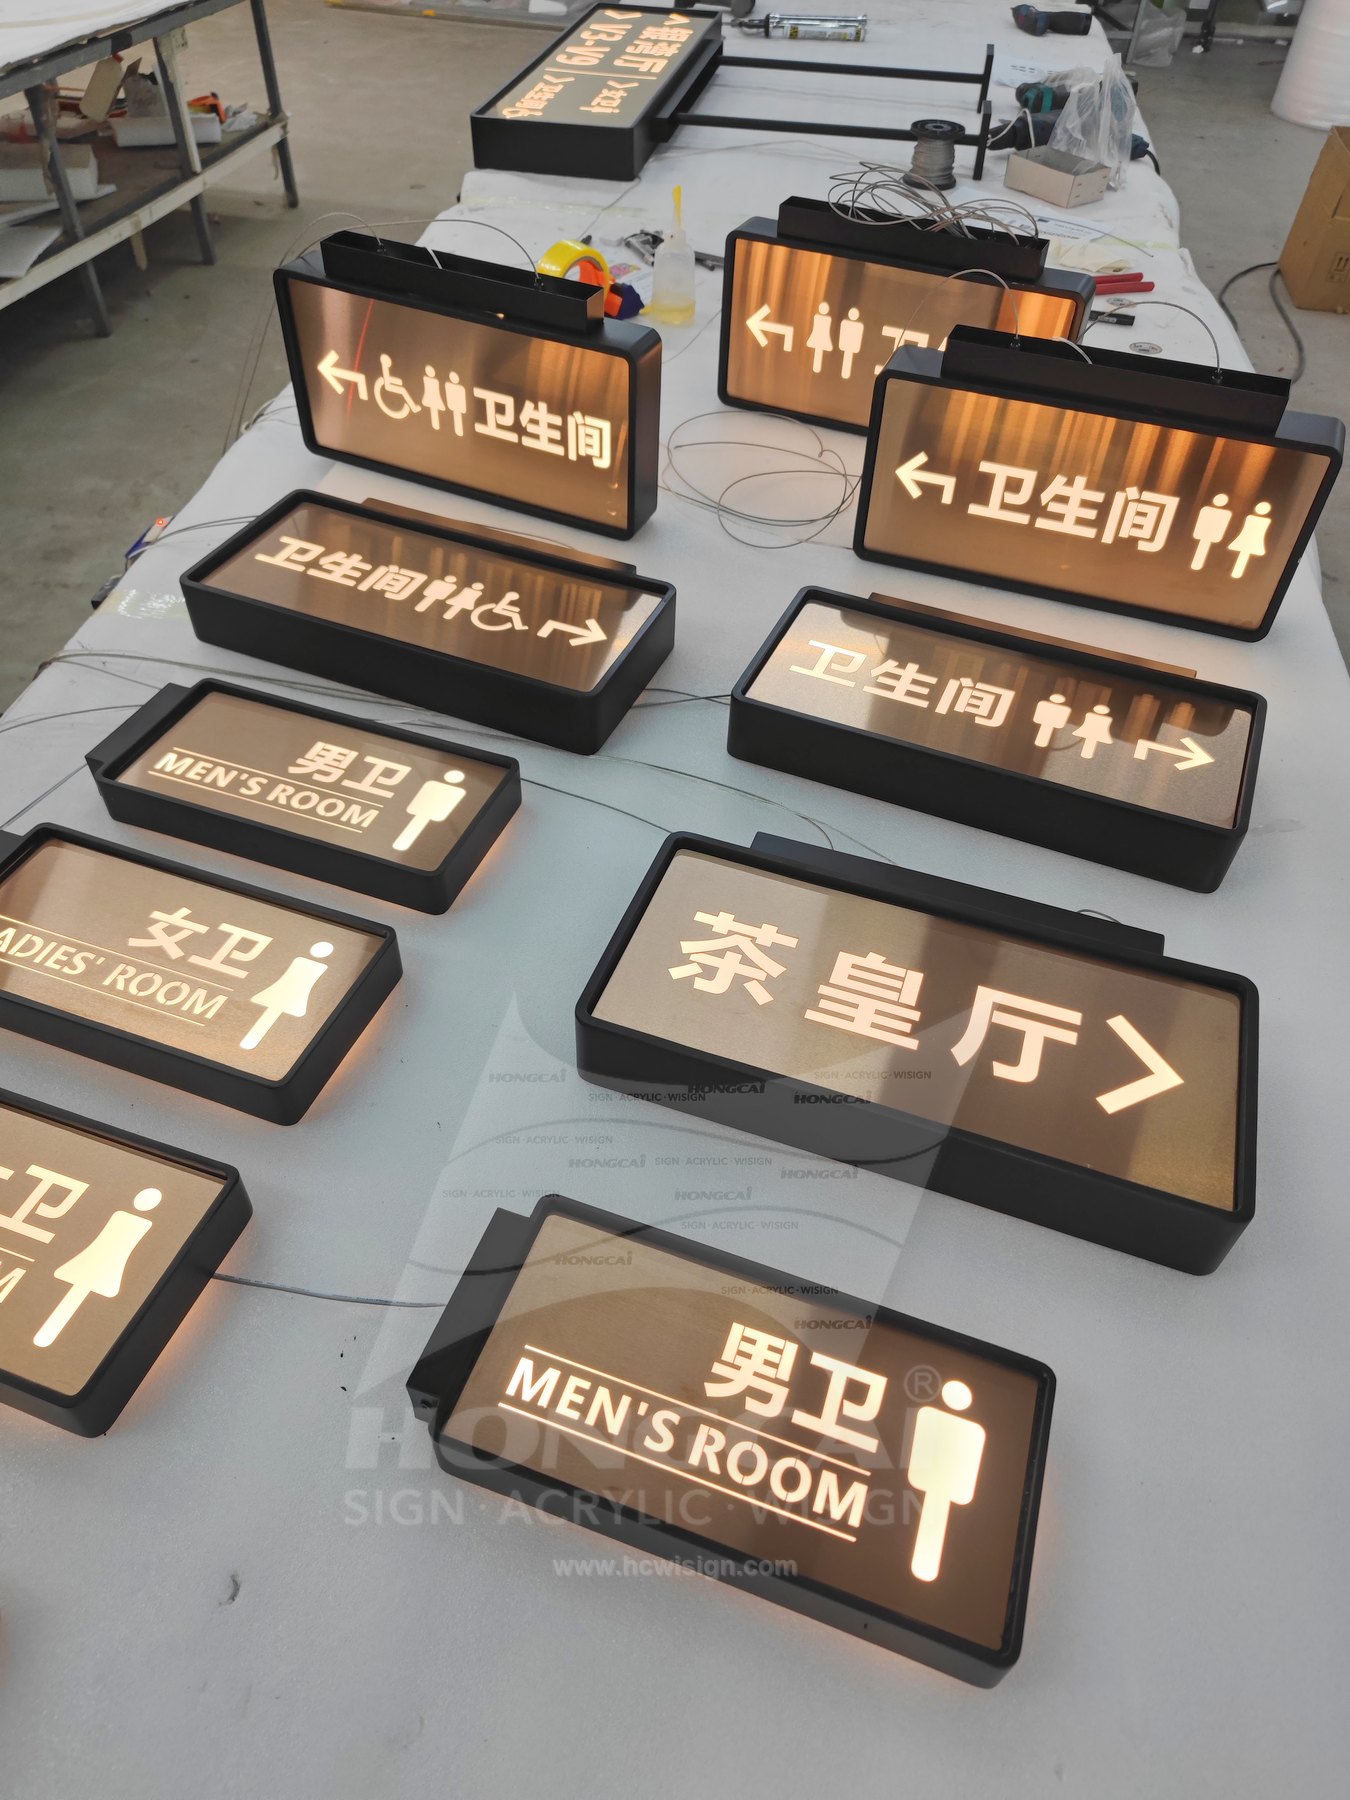
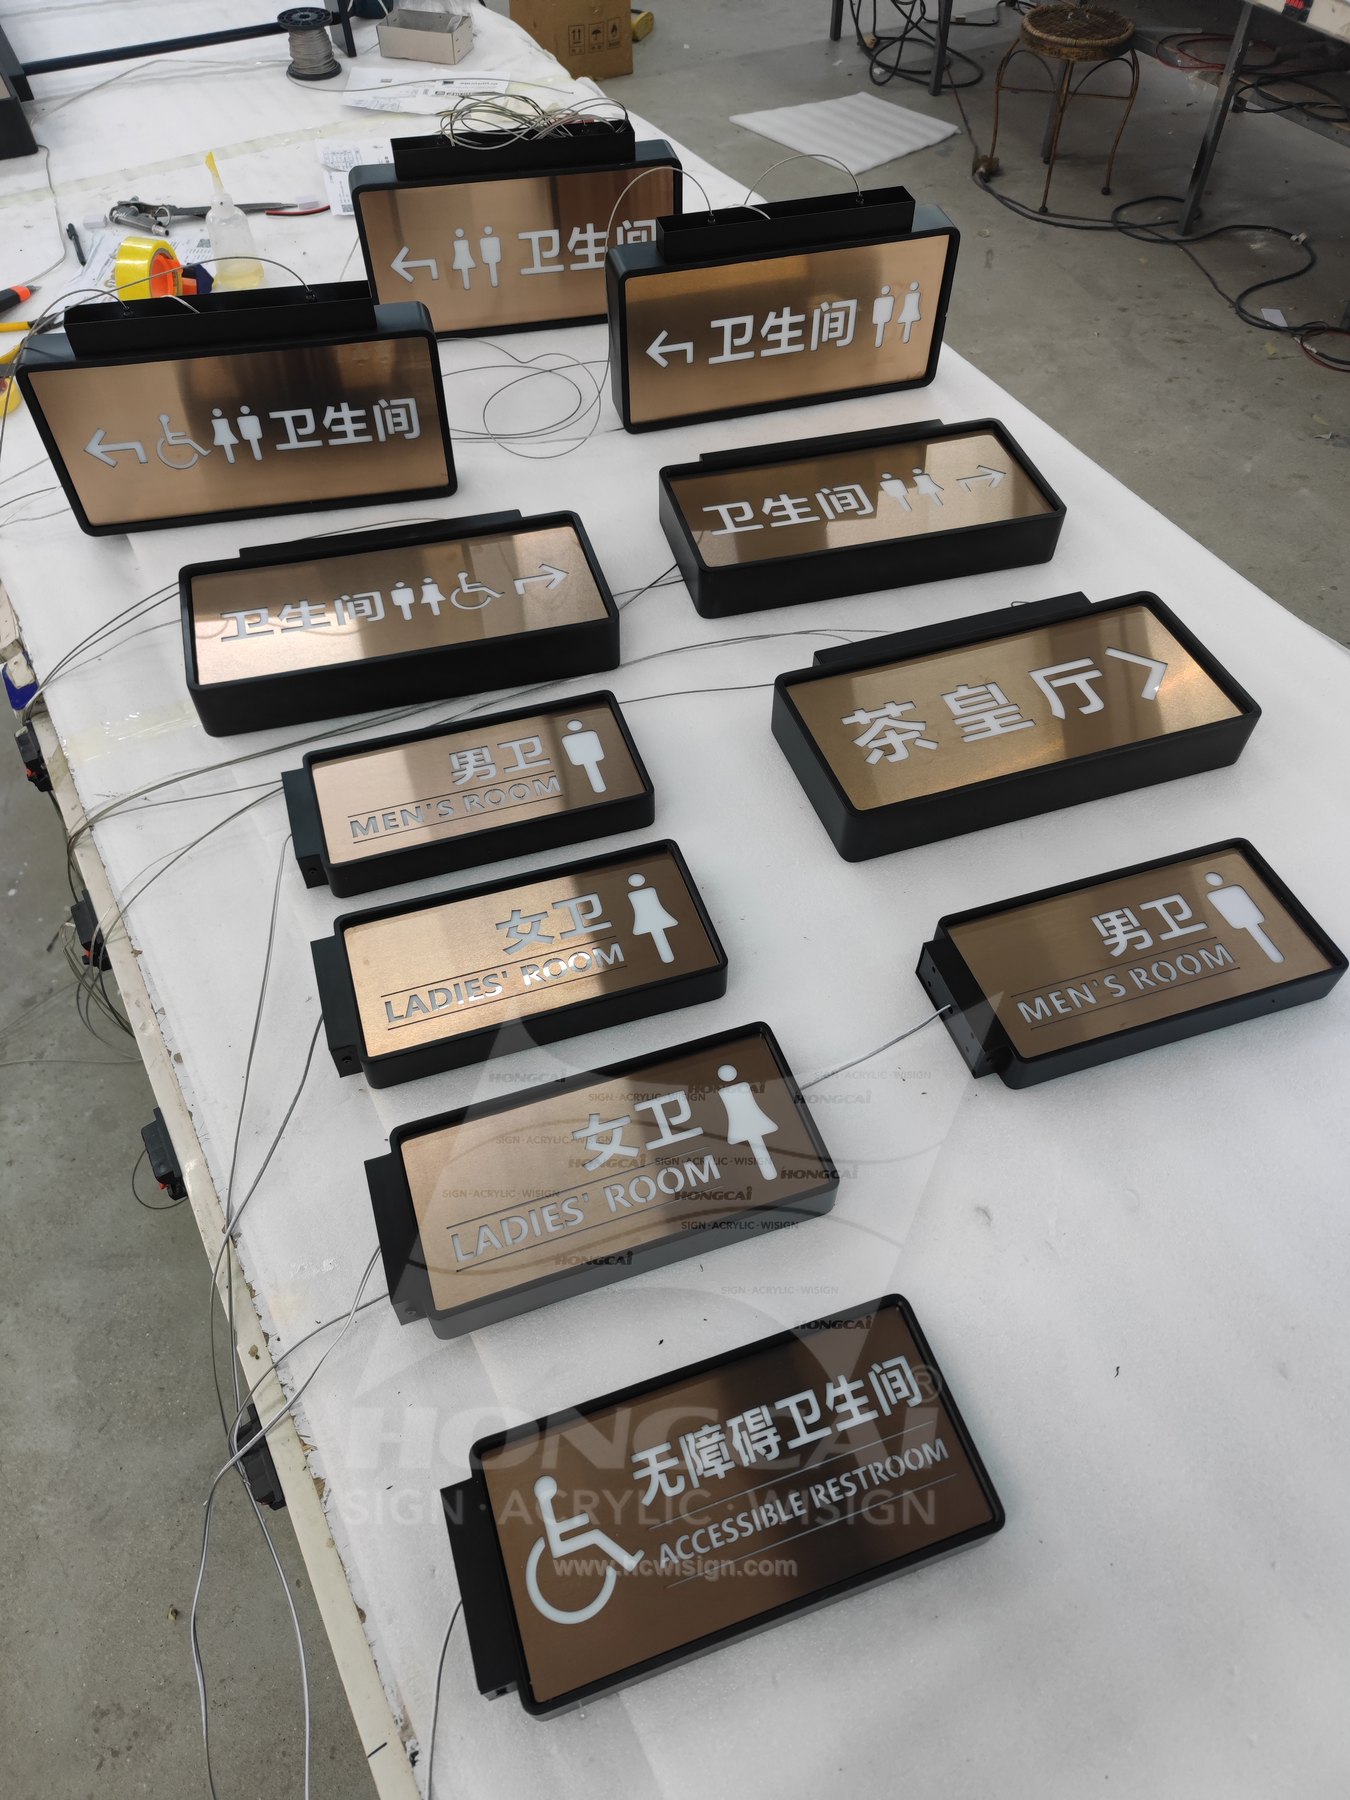
A directional family can bring restroom icons, accessibility information and arrows into one visual system. Define each sign location on a floor plan, then approve the arrow for that exact viewpoint rather than copying a direction throughout the whole set.

View photographed examples

Plan the Artwork and Site Conditions

Review the artwork alongside the intended location. A sign that looks balanced in a close-up photograph may need a different letter size, mounting position or light treatment when viewed from the actual approach.

Define the Information

Prepare a location list with the function, wording, language and direction for each position. Include any additional information required by the project so the approved artwork addresses the complete route rather than one decorative sample.

Site Sightlines

Show corridor turns and door positions in photographs or a plan. Decide where an approach sign is needed before the destination, and check that open doors or nearby fittings will not conceal essential information.

Mounting and Light

Describe the wall construction, ambient light and service access. Compare the icon and wording at the intended sign position, with the lighting effect supporting clear identification rather than obscuring small letters or arrows.

Prepare a Custom Sign Inquiry

Attach the photographic reference you prefer and mark the lettering, colour and illuminated areas you want to retain. Include the information below so the proposal can address the complete sign, its supports and connection requirements together.

Discuss a Custom Sign
  • Complete wording, logo and editable vector artwork, identifying every language version and any fixed brand proportions.
  • Target dimensions, quantity, location photographs and available space, including a wider view of the surroundings.
  • Preferred material and lighting effect, mounting substrate, fixing conditions, power position and delivery destination.